
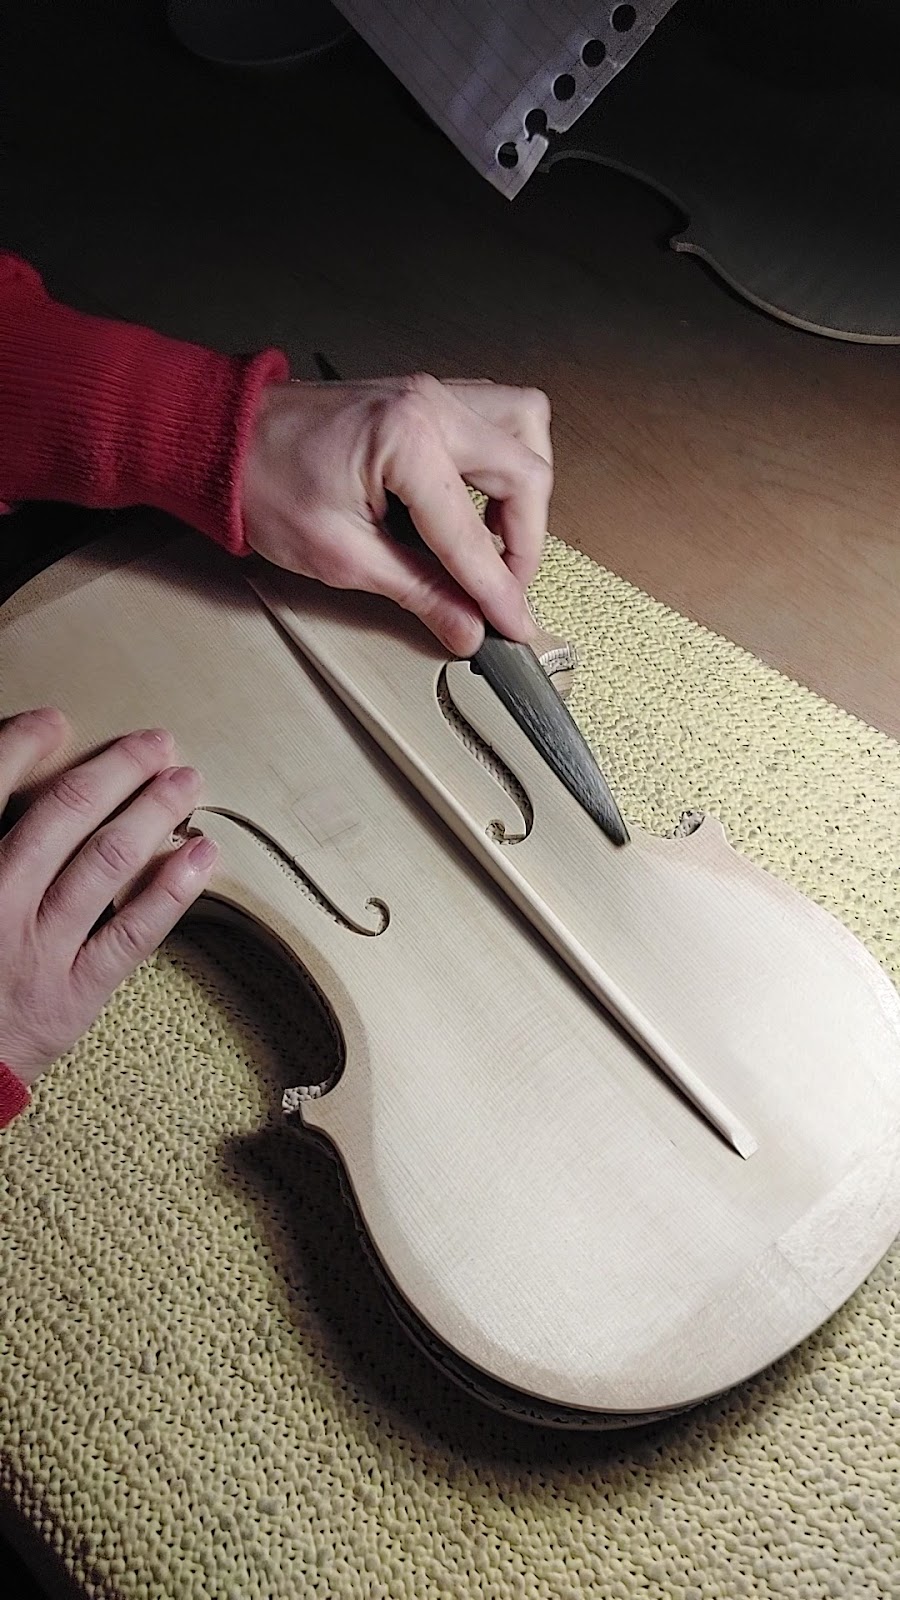
Antiquing inside of the violin
All we need is walnut stain and warm water. We solve a litlle bit of stain in water and try the solution on piece of wood, (my advice is to try on both spruce and mapple). We add water till we are satisfied by the colour. It is important to keep in mind that the colour as wet is darker than as dry. Once you find your colour you can proceed with applaying.
Be shure that you insolate the wood perfectly or you really risk to stain it inevitably.*
 |
Bonus tip: use a well-squeezed natural sponge. It has different drafting and helps to obtain different effects. The same is true if you choose to proceed with a cotton rag for example.
Unleash your creativity, after all, it is what distinguishes one from another!
*You can find the Insolating process on the blog archive

Comments
Post a Comment