Posts

Gluing prep

Image
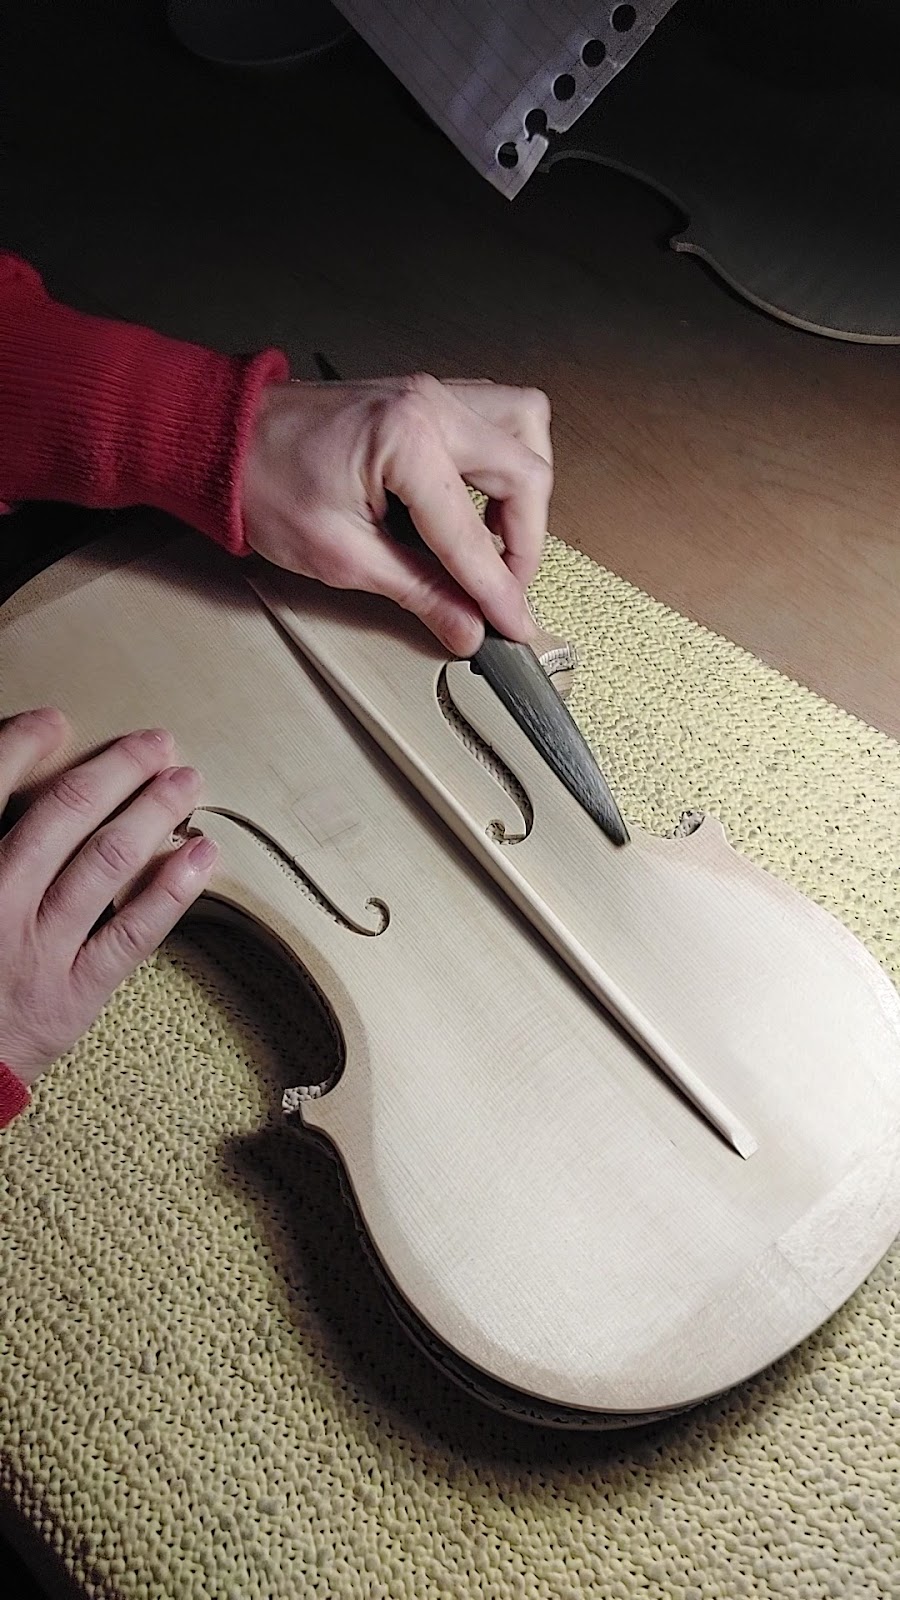
You need flat file,piece of cotton scrap and acetone . Use the flat file to level the gluing surface and cleaning it from dust. You're gonna do that slightly swiping it all over the gluing surface. You don't need to file the surface or took from the wood. The moovment should be gentle, just to clean the wood, almost invisibly.  Then soak a piece of cotton in acetone. Pass it over the entire gluing surface to degrease. The acetone is great degreaser and evaporate super quickly, so it does not change the surface, swelling the wood. You are ready to safely glue your top/backplate! Why we do that passage?    Our hands leave sweat and grease working the plates. Meanwhile, micro particles of wood powder accumulate,Tokyo. Which by themselves carry other types of dirt. Disinfecting the surface before gluing prevents the formation of molds and others pathogens, that can corrode the glue and favor the detachment.  

Antiquing inside of the violin

Image
All we need is walnut stain and  warm water. We solve a litlle bit of stain in water and try the solution on piece of wood, (my advice is to try on both spruce and mapple). We add water till we are satisfied by the colour. It is important to keep in mind that the colour as wet is darker than as dry. Once you find your colour you can proceed with applaying.    Be shure that you insolate the wood perfectly or you really risk to stain it inevitably . * Put one coat all over and let dry well. As i told you, the colour will change. In my case one coat was perfectly  enough. If you doing this process for the first time keep the solution less intense and rather put two coats. And not only, sometimes putting two coats give a quite rich colouring and the brush strokes are more evident. It is artistic decision, so make your tests and  alternate regard the current violin style.  Bonus tip : use a well-squeezed natural sponge. It has different drafting and helps to obtain different effects. The

Violin interior preparation

Image
    The inside preparation of the violin is a passage that may seem trivial and not so imporant. What i mean? This step ( as everything else about the violinmaking and repairing)  should be understand.  You must know why exactly i do this, do i have other alternatives, can i skip it and what consequences it would have?    This step is to apply protective coat over the wood. The natural gums help us protect the surface from external damages, but not only. They help us insulate the wood from moisture. Isolating the inside balance the difference between  the outside varnish covered surface and the more "bare wood" inside. Otherwise some gums protect the wood from woodworm and insects. Last but not least , it protects the wood from colour impregnations, which can be caused by pigments or warer stains, when we antiqe or just want to give some colouring to the interior.    We always advice to keep the things simple and not complicate your life. The simple solutions, sometimes work